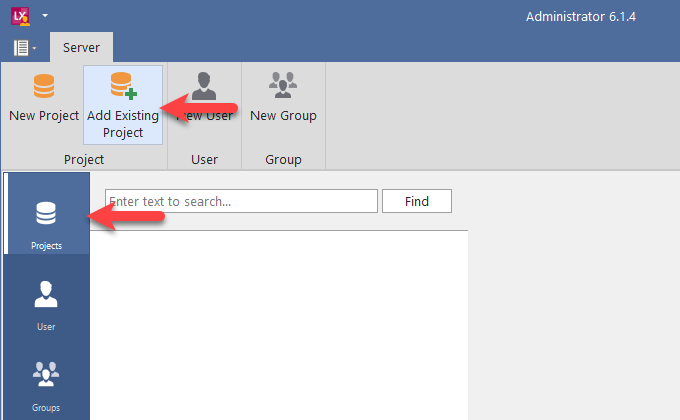
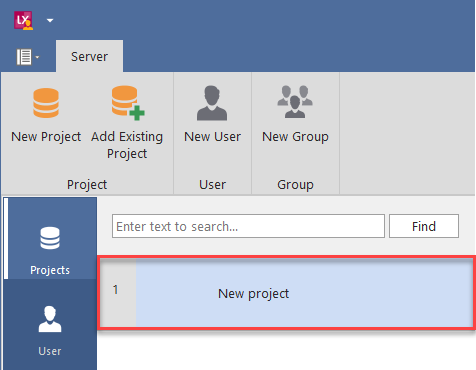
To create a new project or add an existing one to the system, start the administrator and select ‘Projects’ in the navigation on the left side.
Click on ‘New Project’ at the top left.

In the input mask, first define the ‘title’ of the project. Optionally, you can add a description for the project.

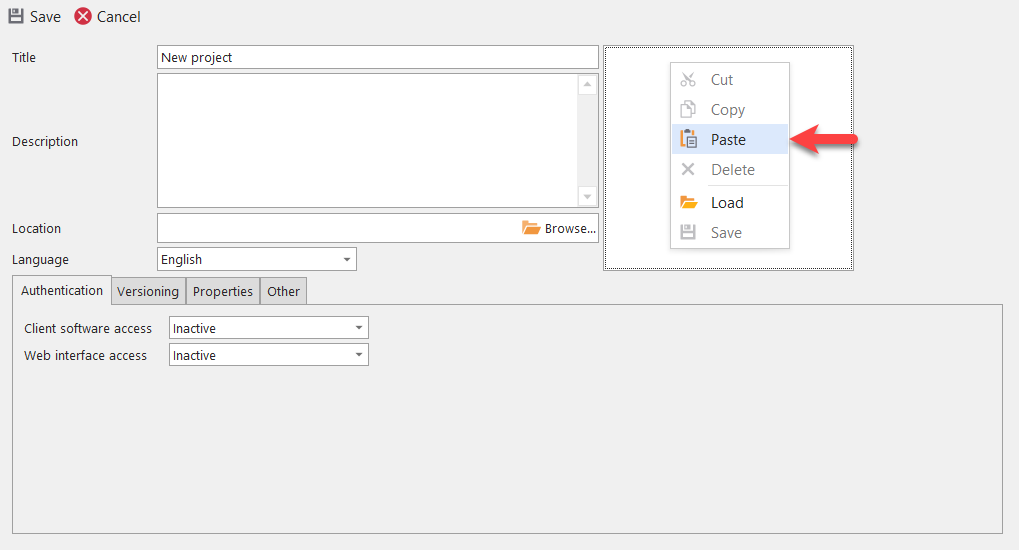
You can also optionally define an image or symbol for the project (context menu via right mouse button). The ideal size of an image is 276x150 pixels (aspect ratio 46:25), larger images are automatically reduced in size. Description and image/icon are displayed to the user in the list for selecting knowledge areas and can provide better orientation.
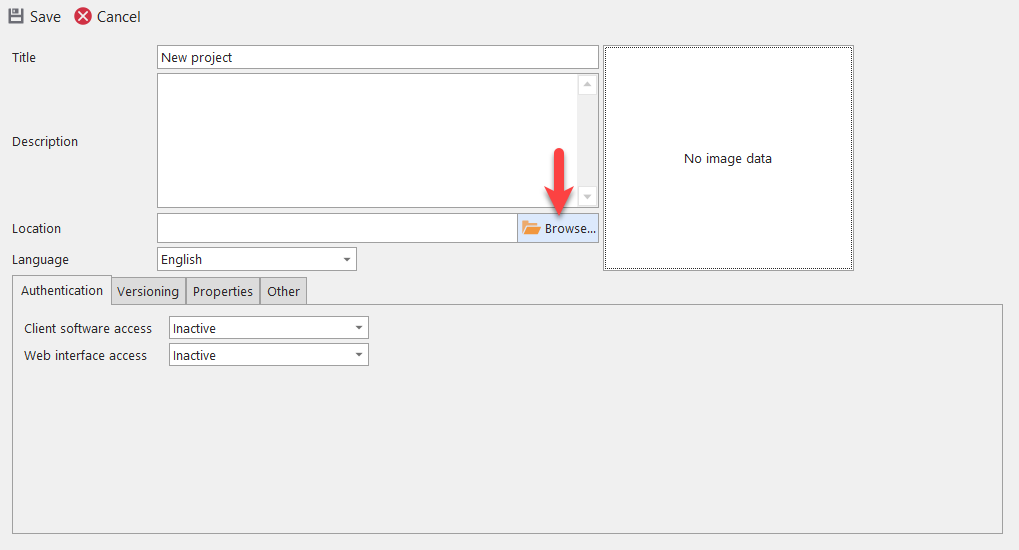
Then click on ‘Browse’ in the ‘Location’ field, e.g.
Note: Users of the lexiCan Cloud cannot determine the storage location themselves. The following explanations on the storage location can therefore be ignored.
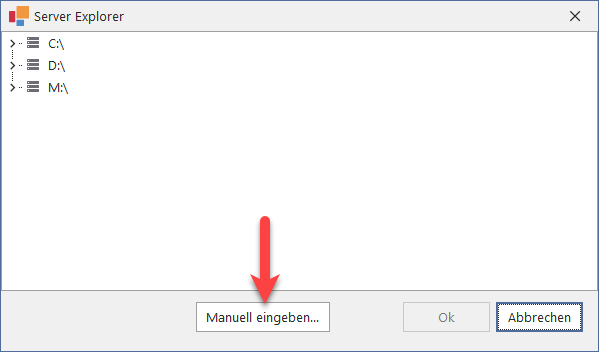
The local drives of the server computer are then listed in a dialog box. Navigate to the desired storage location and confirm it with ‘OK’ e.g.

If you do not want to save your projects on a local drive, click on ‘Enter manually’. Note: Normally, the local user account that runs the server service does not have permission to external resources. In this context, refer to the information on running the server service.

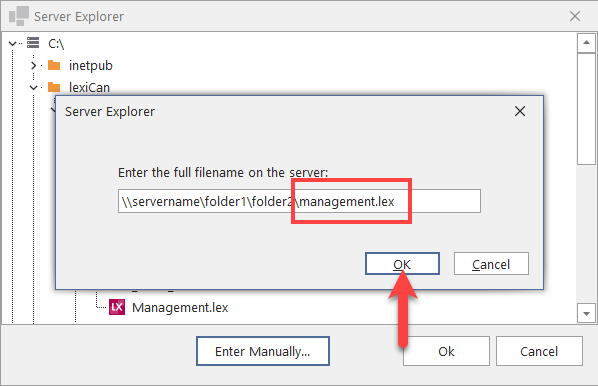
Enter the complete network path (UNC path) to the storage location in the entry window and confirm the entry with ‘OK’, e.g.

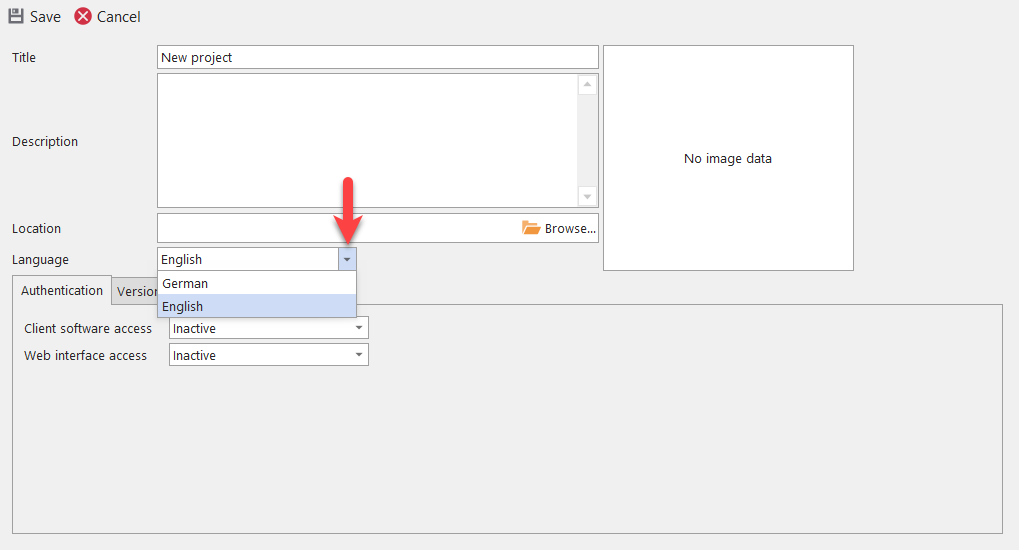
Now define the language for the project. This determines the name of the style sheets that are given to a project by the system. The language cannot be changed subsequently.
Regarding the other fields "Security", "Versioning" etc., read the articles Security settings and Further settings.

Continue with Security settings.
Then click on ‘Add Existing Project’ in the upper area.
The local drives of the server computer are then listed in a dialog box. Navigate to the storage location of the project, select the LEX file and confirm with ‘OK’, e.g.

If the project in question is not saved on a local drive, click on ‘Enter manually’. Note: Normally, the local user account that runs the server service does not have permission to external resources. In this context, refer to the information on running the server service.
Then enter the complete network path (UNC path) to the LEX file of the project in the input window and confirm the entry with ‘OK’.
The data for the project is then loaded and displayed and the project is listed in the navigation on the left, e.g.
If the project was created with program versions 4 or 5, you must upgrade it afterwards. To do this, click on "Upgrade", e.g.

Continue with Security settings.